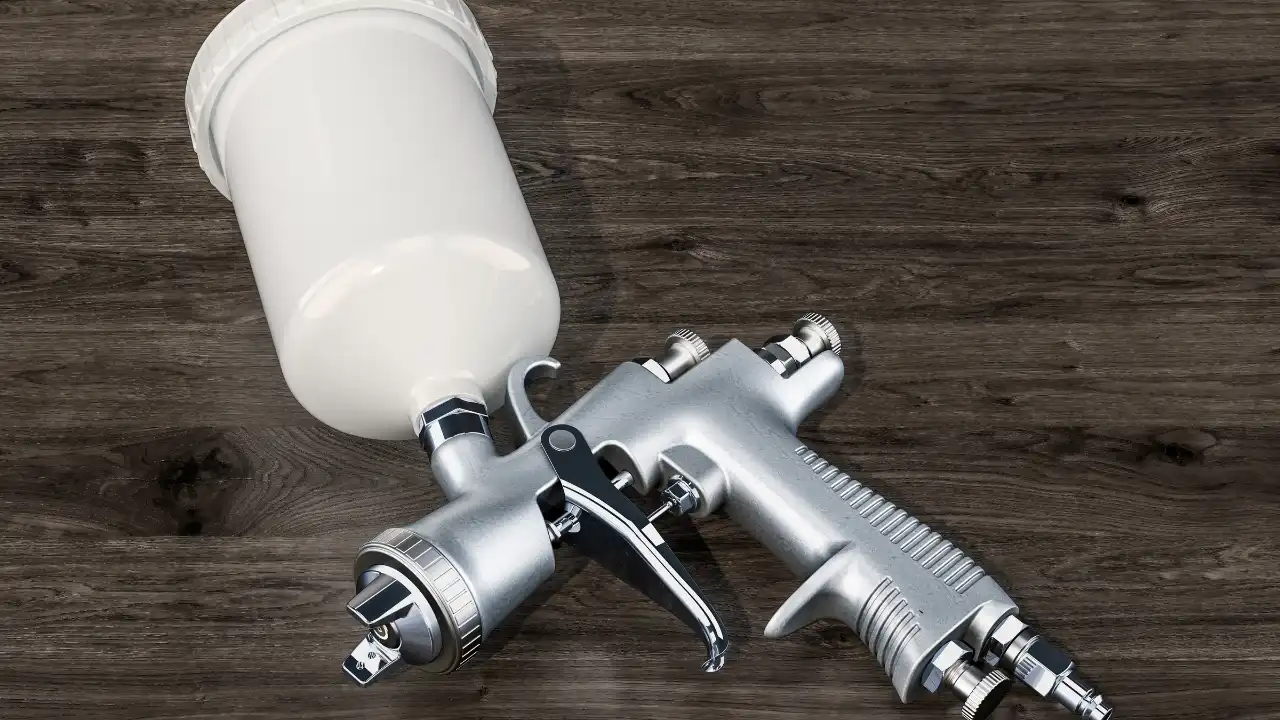
Achieving a flawless paint job, whether on a car, furniture, or a house, requires more than just a good spray gun and quality paint.
One of the most critical factors in producing smooth, professional results is getting the spray gun pressure settings just right. Incorrect pressure can lead to various issues, such as overspray, uneven coverage, or a poor finish.
In this comprehensive guide, we’ll walk you through how to set your paint spray gun pressure step-by-step to ensure your project turns out perfect every time.
Why Spray Gun Pressure Settings Matter
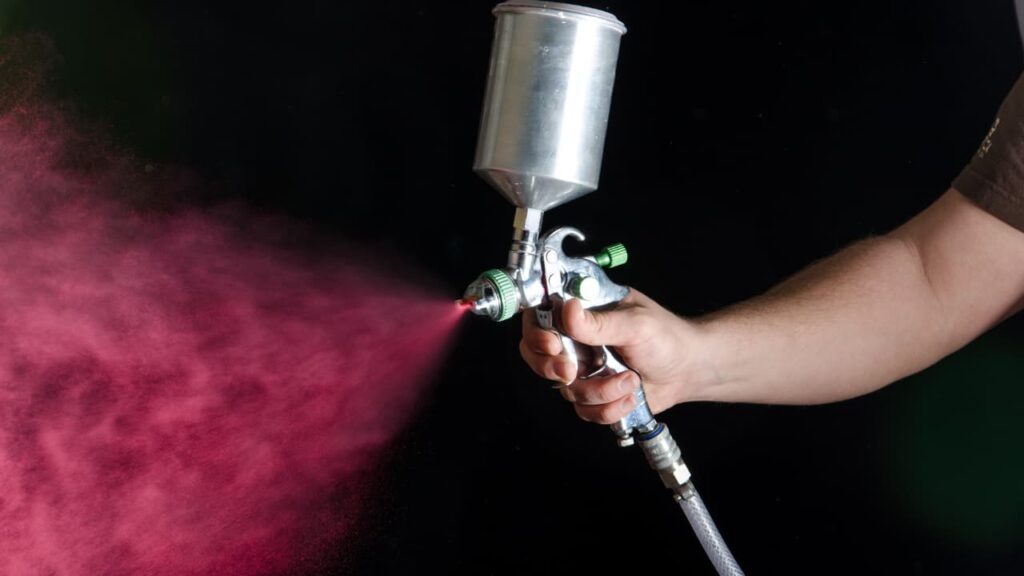
The pressure setting on a spray gun controls how much air mixes with the paint, which affects the atomization of the paint, spray pattern, and the overall finish. Too much pressure can lead to excessive overspray and wasted material, while too little pressure may result in a poor, inconsistent spray pattern.
Proper pressure settings help achieve:
- Smooth, even finishes
- Efficient paint usage
- Reduced overspray
Step into the future of training with Simbott’s VR Spray Painting Simulator—perfect your technique, reduce waste, and build confidence safely
Simbott
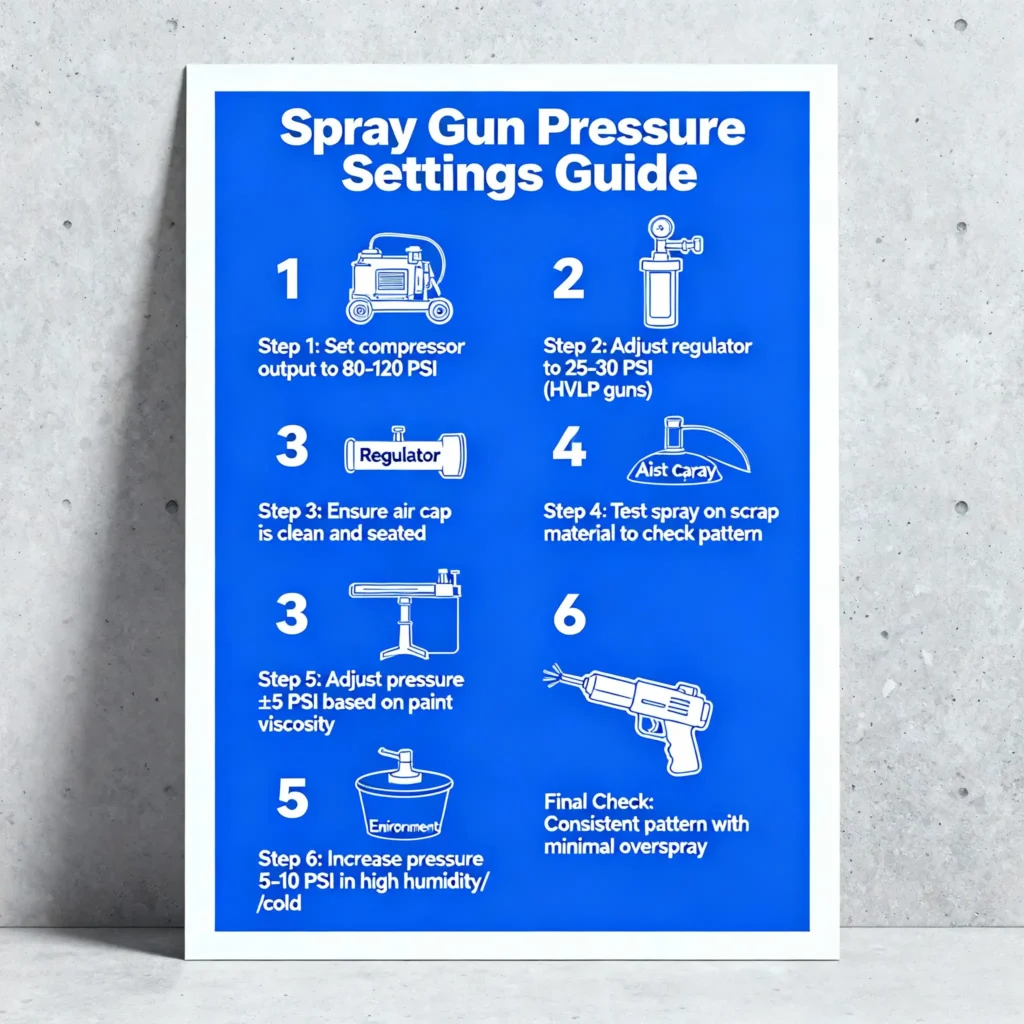
Step-by-Step Guide to Setting Paint Spray Gun Pressure
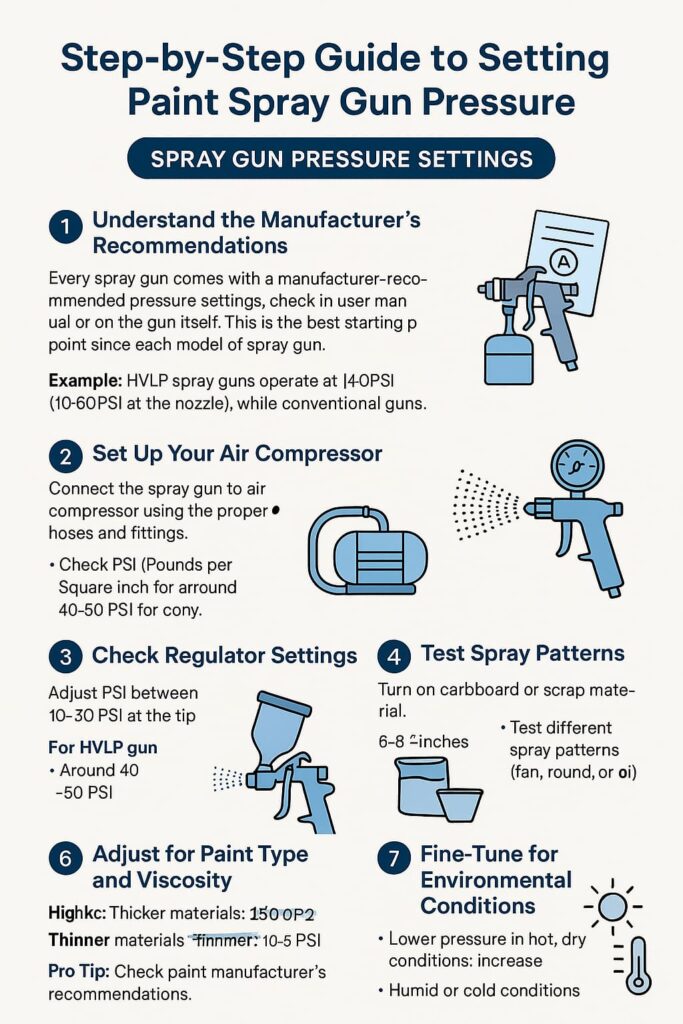
Step 1: Understand the Manufacturer’s Recommendations
Every spray gun comes with a set of manufacturer-recommended pressure settings, usually printed in the user manual or on the gun itself. This is the best starting point since each model of spray gun has different specifications.
Example: An HVLP spray gun typically operates at a lower pressure (10-20 PSI at the nozzle), while a conventional spray gun may require higher pressure, around 40-60 PSI.
Step 2: Set Up Your Air Compressor
Connect the spray gun to the air compressor using the proper hoses and fittings. The compressor provides the air needed to atomize the paint, so it’s important to ensure it can deliver the right air volume (measured in CFM, or Cubic Feet per Minute) for your spray gun.
- Check your air compressor’s capacity to match the CFM requirements of the spray gun.
- Ensure your compressor is properly oiled and maintained for consistent air pressure.
Step 3: Check Regulator Settings
A regulator is attached between the compressor and the spray gun to control the airflow. This allows you to adjust the PSI (Pounds per Square Inch) to the correct level for the job. Always set your regulator based on the type of material you are spraying and the environment.
- Start with the recommended PSI for your spray gun.
- For HVLP spray guns, set the regulator between 10-20 PSI at the tip. For conventional guns, set it around 40-50 PSI.
- Adjust the regulator as needed depending on the size of the project and paint viscosity.
Step 4: Adjust the Air Cap Pressure
Once you have the initial air pressure set, the next step is to adjust the air cap pressure. This fine-tunes how the air flows through the spray gun nozzle, ensuring the paint atomizes properly.
- Turn on the gun and pull the trigger.
- Gradually adjust the air cap until the spray pattern is consistent and the droplets are well-distributed.
Step 5: Test Spray Patterns
Before applying paint to your actual project, it’s crucial to test the spray pattern on a piece of cardboard or scrap material. This helps you see if the pressure is correctly set and ensures the spray pattern is even.
- Hold the gun 6-8 inches away from the surface.
- Test different spray patterns (fan, round, or oval) to find the right one for your project.
- If the paint splatters or appears uneven, adjust the pressure either up or down and retest until you get a consistent flow.
Step 6: Adjust for Paint Type and Viscosity
Different types of paints and finishes require different pressure settings. For example, thicker materials like primers need higher pressure than thinner materials like clear coats or lacquers.
- For thicker materials: Increase the pressure to ensure the paint atomises well (25-30 PSI for primers).
- For thinner materials: Lower the pressure to avoid runs or drips (around 10-15 PSI for clear coats).
Pro Tip: Always check the paint manufacturer’s recommendations for thinning and pressure requirements to ensure optimal results.
Step 7: Fine-Tune for Environmental Conditions
Temperature, humidity, and altitude can affect how the paint flows through the gun and dries on the surface. Adjust your spray gun pressure based on the environment you’re working in:
- In hot, dry conditions, you may need to lower the pressure slightly to avoid the paint drying too quickly.
- In humid or cold conditions, increasing the pressure slightly helps the paint flow and dry properly.
Simple Guide
Common Problems with Incorrect Spray Gun Pressure
Even with a high-quality spray gun, incorrect pressure settings can result in several issues. Below are some common problems you might face and their potential causes:
1. Overspray
- Cause: Pressure too high.
- Fix: Lower the PSI on the regulator to reduce the amount of paint being atomized.
2. Uneven Coverage
- Cause: Pressure too low.
- Fix: Increase air pressure to ensure the paint is being atomized evenly and can properly coat the surface.
3. Runs and Sags
- Cause: Pressure too low or spray gun held too close.
- Fix: Increase the pressure slightly and hold the gun at the proper distance from the surface (usually 6-8 inches).
4. Spitting or Splattering
- Cause: Pressure too low or paint too thick.
- Fix: Increase pressure and check the paint viscosity, thinning it as necessary.
5. Orange Peel Finish
- Cause: Inadequate atomization (pressure too low).
- Fix: Increase air pressure or adjust the fluid control to allow for finer atomization.
Pressure Settings by Material Type
Here’s a quick guide to common pressure settings based on the type of material you are spraying:
| Material | Suggested PSI (HVLP) | Suggested PSI (Conventional) |
|---|---|---|
| Primers | 25-30 PSI | 50-60 PSI |
| Base Coats | 15-20 PSI | 40-50 PSI |
| Clear Coats | 10-15 PSI | 40-50 PSI |
| Thick Latex Paints | 30-35 PSI | 60 PSI |
| Lacquers | 10-15 PSI | 40-50 PSI |
Final Step: Maintain Consistent Pressure During Use
While spraying, keep an eye on the pressure gauge to ensure it stays consistent throughout the job. Variations in pressure can lead to an uneven finish or material waste. If you notice the pressure dropping, check your compressor and air hoses for leaks or other issues.
Conclusion
Setting the correct pressure on your paint spray gun is crucial to achieving a professional-grade finish. By following the steps in this guide—understanding your spray gun’s specifications, adjusting for the material you’re using, and compensating for environmental factors—you can ensure a smooth, consistent finish on every project.
Remember to test your spray pattern, fine-tune your settings as necessary, and always refer to manufacturer guidelines for both your gun and the paint you’re using.